



How to Clean Your Mini PC: Cooling Maintenance & Dust Removal Guide
#News Center ·2026-10-16 23:53:14
Practical tips for Mini PC dust removal, cooling maintenance and fan noise reduction
Mini PCs integrate fans, heatsinks and air channels in a much smaller enclosure than full-size desktops. Even a thin layer of dust can hinder airflow. Heavy dust accumulation elevates operating temperatures, forcing the fan to run faster and generate more noise.
Always clean from the outside in. Disassembly procedures differ across models; follow the official manual if you need to open the chassis. Quick cleaning summary: Fully power off and unplug the mini PC. Start by cleaning the casing and vents using short bursts of upright canned compressed air. When opening the case, immobilize fan blades before blowing dust off the fan and heatsink fins. Avoid household vacuums, liquid sprays on electronics and unnecessary heatsink removal.
You do not need rigid fixed cleaning schedules. Inspect your device and clean when symptoms appear: visible dust or pet hair around vents, frequent fan speed spikes under light workloads, weak exhaust airflow, higher operating temperatures, or packed dust between heatsink fins. Severe dust buildup between fan and heatsink can fully block airflow, and clearing this blockage often brings greater cooling improvement than hardware upgrades.
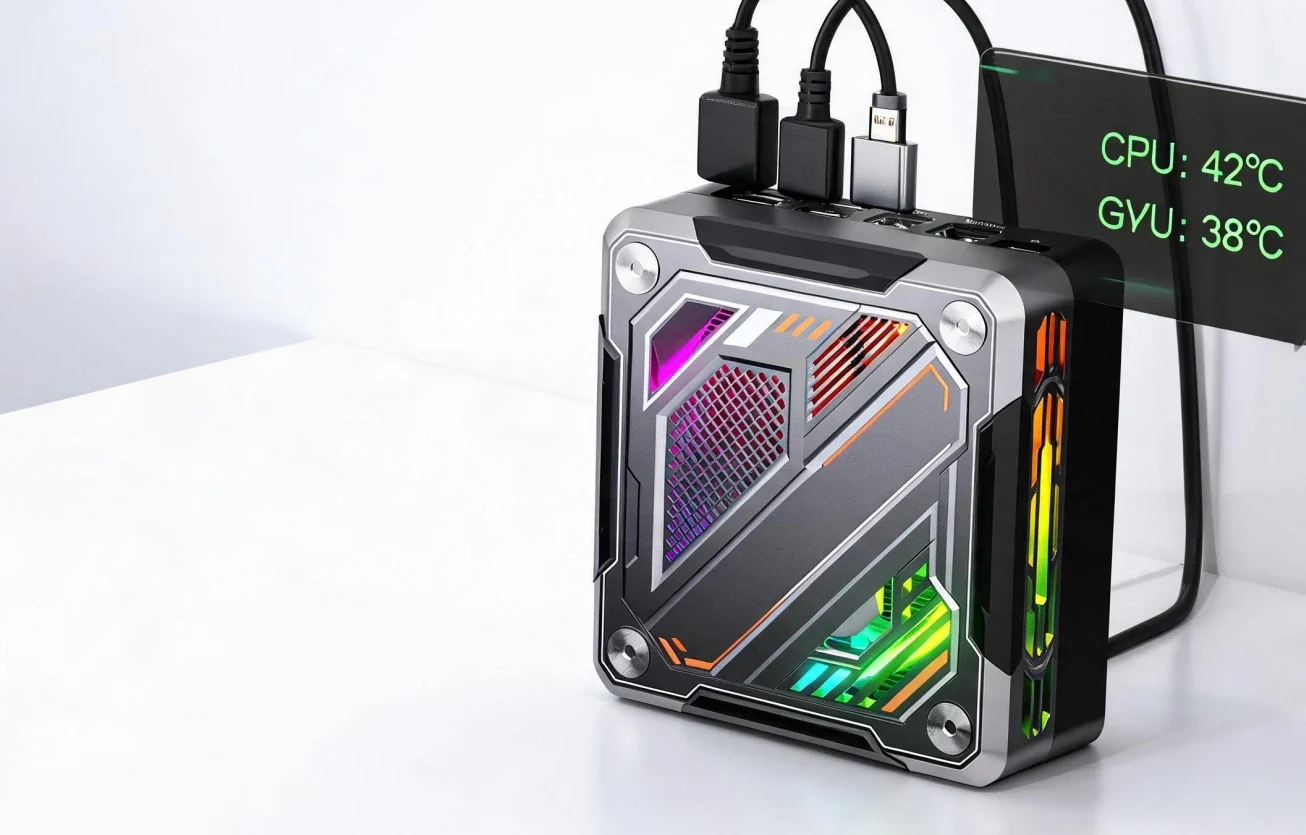
Step-by-step cleaning process
- Power off and cool down Shut down the system completely instead of using sleep mode. Unplug power, display, USB, Ethernet and storage cables. Let it cool after heavy loads. Wipe the outer shell and blast intake/exhaust vents with short compressed-air bursts. Keep the can upright to prevent liquid propellant leakage.
- Clean externally first; open case only when necessary Light dust maintenance can be done without opening the case. Disassemble only if internal dust on fans or heatsinks is visible. Discharge static electricity by touching grounded metal before touching internal parts, and avoid carpeted workspaces to prevent static damage.
- Secure fan blades before cleaning cooling parts Prevent the fan from spinning freely while blowing air. Use gentle bursts to clear dust on fan blades. For stubborn dust trapped between tight heatsink fins, use an ESD-safe soft brush to loosen debris and blow dust out of the chassis.
- Avoid over-maintenance Only clean accessible areas. Do not remove the motherboard, Wi-Fi module or cooler for minor dust specks. Opening the case does not require re-applying thermal paste; replace thermal paste only if high temperatures persist after airflow recovery.
- Reassemble and test Before closing the cover, confirm no loose cables or stray screws remain inside and the fan rotates smoothly. Reinstall the cover without over-tightening screws. Power on and verify fan behaviour and temperatures after assembly.